
Generate summary with AI

IT issues can appear in many forms, from random application crashes to unexpected system freezes or failed updates. One common cause that is often overlooked is faulty memory, which can quietly create recurring problems across multiple devices.
To get ahead of these hardware-induced headaches, the Windows Memory Diagnostic (WMD) tool serves as a vital first line of defense. By proactively identifying RAM instability before it leads to a total system failure, IT teams can mitigate downtime and protect user productivity. This guide explores the key indicators of memory failure and how to execute the diagnostic effectively.
Considerations before using Windows Memory Diagnostic in Windows 11
Running a memory diagnostic is a targeted troubleshooting step that forces the system to reboot into a pre-OS environment. Because this takes the device offline and can run anywhere from thirty minutes to several hours, it’s important to understand when the tool is actually justified and what its results can realistically tell you.
Before launching a scan, keep these points in mind to avoid unnecessary downtime and misdiagnosis.
Rule out software first: Memory diagnostics should typically be a “second-tier” troubleshooting step. Ensure you have already checked for driver updates, pending Windows updates, and software-specific bugs, as these are more common causes of crashes than physical RAM failure.
Look for high-confidence hardware symptoms: The tool is most useful when Windows 11 shows patterns that strongly align with memory failure, including:
- Recurring Blue Screen errors such as MEMORY_MANAGEMENT, IRQL_NOT_LESS_OR_EQUAL, or PAGE_FAULT_IN_NONPAGED_AREA.
- Random crashes across multiple, unrelated applications.
- File corruption appearing immediately after a clean OS installation or major update.
Prepare for downtime: Windows Memory Diagnostic requires an immediate or scheduled restart and blocks all system use until the test completes. Any unsaved work will be lost.
Additionally, many common issues are rarely caused by RAM and running this tool won’t help:
- Slow boot times, usually linked to storage health or startup processes.
- Sustained high CPU usage, often caused by background services or malware.
- Network instability, which typically points to drivers or hardware interfaces.
» Looking for specific software? Here are the best driver updater software options
System conditions that can affect accuracy
Several system-level factors can reduce the usefulness of Windows Memory Diagnostic results.
- Overclocking and memory profiles: RAM running with XMP or EXPO profiles is significantly more prone to errors. These faults may only appear during extended stress testing that WMD does not consistently perform.
- Virtualization and security features: Technologies such as Hyper-V and Virtualization-Based Security can mask timing-related faults, lowering detection sensitivity.
- Reboot-based testing: Because the diagnostic runs after a clean restart, it does not test memory under real-world workload conditions. This means the system is not under normal load, heat, or sustained usage, which is when many intermittent memory problems tend to appear.
» Make sure you know what’s Microsoft Hyper-V and how to use it
How to launch Windows Memory Diagnostic
To run Windows Memory Diagnostic in Windows 11, you can launch the built-in tool directly from the system, which ensures the scan runs using Microsoft’s native utility.
Follow these steps:
1. Press Win + R on your keyboard and type mdsched.exe and press Enter

2. Choose your execution timing:
- Restart now and check for problems: Best for immediate troubleshooting if the system is currently unstable.
- Check for problems the next time I start my computer: Ideal for production machines that cannot be taken offline immediately.

3. Once the system reboots into the blue diagnostic screen, you can press F1 to choose between Basic, Standard, or Extended modes
- Basic (2-5 minutes): Runs a very quick scan to catch obvious memory faults, with minimal downtime
- Standard (10-20 minutes): Performs a broader set of tests and is the recommended option for general troubleshooting
- Extended (30-several hours): Runs deep, multi-pass testing to detect intermittent or stress-related memory issues, but takes significantly longer

4. After you select your options, the tool will begin running the tests automatically. You will see a progress bar and a status indicator

Once the diagnostic is finished, your computer will automatically restart and boot back into Windows.
» Here’s how to restart a remote computer using Windows
How to find Memory Diagnostic results in Event Viewer
Many users become frustrated when their computer reboots and no report appears. Windows logs these results in the background, requiring you to navigate to the correct path within the Event Viewer to see the outcome.
Follow these steps:
1. Search “Event Viewer” in your search bar and click “open”

2. On the left-hand, expand Windows Logs. Click on System. This is the primary repository for hardware-level diagnostic events

3. To avoid scrolling through thousands of entries, click Filter Current Log… in the right-hand pane

4. In the Event sources dropdown, check the box for MemoryDiagnostics-Results and click OK

5. Once filtered, you will see specific entries that describe the health of your RAM. These IDs allows you to make an informed decision about hardware replacement:
- Event ID 1101: Confirms the tool started and completed its scheduled test.
- Event ID 1201: Indicates a “Pass.” No hardware errors were detected during the scan.
- Event ID 1202: Indicates a “Fail.” This signals that at least one hardware fault was detected, and the physical RAM module likely needs to be replaced.

» Don’t miss the best options for hardware monitoring software
In large IT environments, the hard part about memory problems isn’t running a test, it’s knowing which computers need it without causing unnecessary downtime. Atera’s RMM platform makes this easier by giving IT teams a clear view of how all devices are performing.
It monitors computers and servers for warning signs like repeated crashes, failed updates, or apps closing unexpectedly. When these issues appear, IT can focus on the machines that might have memory problems instead of checking every device.
Atera makes memory checks simple
Resolving hardware-related instability is a big part of maintaining a healthy digital environment. By using the Windows Memory Diagnostic tool correctly and knowing exactly where to look in the Event Viewer, you can stop guessing and start fixing.
Atera’s RMM platform simplifies this entire process by centralizing your logs and automating the verification steps. Instead of chasing down individual computers, you get a unified view of your hardware health, allowing you to catch failing components before they cause a major outage. With these tools at your disposal, you can ensure your configurations remain consistent and your systems stay secure.
» Want to try it out? Get started with Atera
Frequently Asked Questions
Related Articles
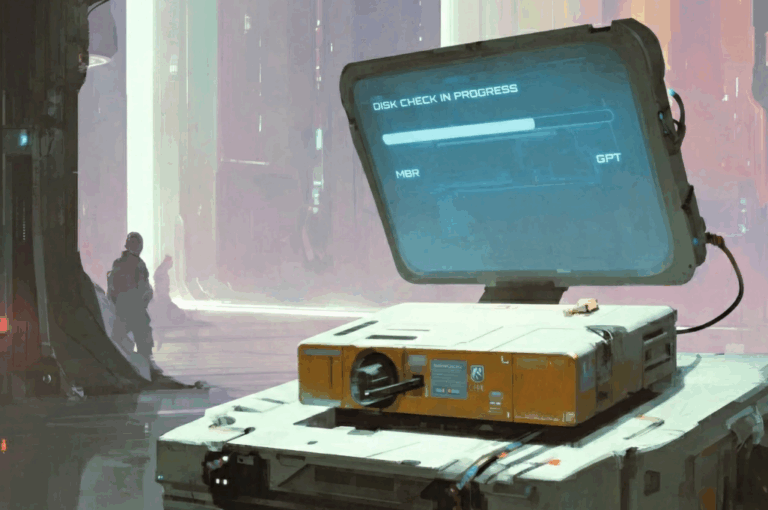
How to check if a disk is MBR or GPT in Windows
Choosing between MBR and GPT depends on your hardware and future storage needs, with GPT supporting larger drives and modern security features. You can check your disk’s partition style in seconds using Disk Management, Command Prompt, or PowerShell.
Read now
How to enable or disable the Action Center in Windows 10 and 11
The Action Center centralizes system alerts and quick toggles, but it requires specific background services and shell integrations to function correctly. While hiding the interface stops visual distractions, notifications still process in the background, making proactive management necessary for security.
Read now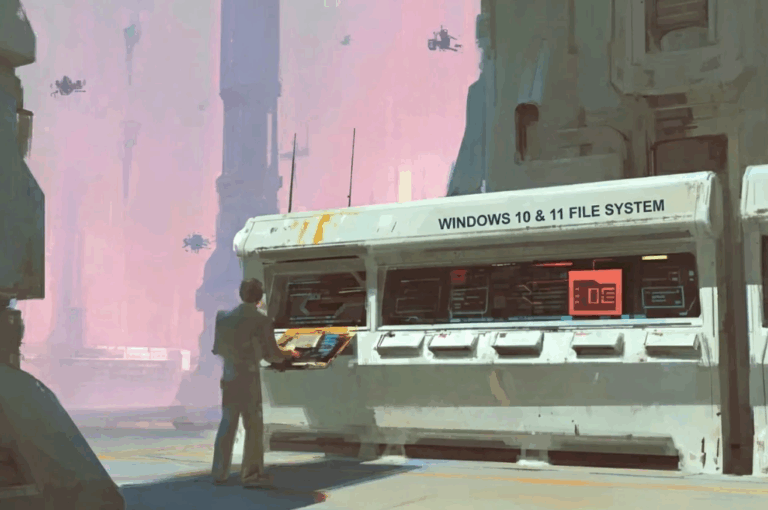
How to change file associations in Windows 10 and 11
Windows file associations follow a priority system that decides which app opens your files, and problems usually happen when those links break or apps aren’t registered correctly. You can fix or change them using built-in tools, while automation platforms make large-scale management much easier.
Read now
How to fix the “vcruntime140.dll not found” error in Windows 11
The "vcruntime140.dll" error usually happens because of missing or corrupt Visual C++ Redistributables. To fix it safely, verify your system architecture and reinstall the official Microsoft packages for both x86 and x64.
Read nowEndless IT possibilities
Boost your productivity with Atera’s intuitive, centralized all-in-one platform


